Is there anything more Polish than pierogi?
As a kid, most of my friends had no idea where Poland was. “It’s cold, isn’t it?” they’d ask, perhaps thinking it was a province of the North Pole. Maybe they confused it with Greenland or Iceland. Either way, despite the poor geography skills, I could always count on their appreciation of our delightful dumplings: “I love pierogies!”, they’d exclaim.
Cue Hermione Granger “it’s pierOGI, not pierogIES”…
Pierogi in the United States
For a long time, I didn’t realize how common pierogi were in the United States, especially in the Midwest (Great Pierogy Race…seriously?!). When I eventually visited cities like Chicago, Pittsburgh, and Cleveland, I was shocked to see my favorite dish as an appetizer at almost every restaurant. Did they taste authentic? No…but that didn’t matter. What mattered was that a part of my heritage was represented in my new home.
In the late 19th century until World War I, thousands of Poles migrated from then-occupied Poland to the US in search of jobs. Many settled in industrial hubs, taking dangerous jobs in coal mines, steel mills, and blast furnaces, among others. It’s no surprise then that pierogi–like the German pretzel–became a staple of the area.
Interestingly, the popularity of pierogi has grown, with companies like Jaju, featured on Shark Tank, hitting the market with their delightful products. A quick search results in lists like the best pierogi in Pittsburgh (even the pizza one sounds intriguing) and the top pierogi spots in Cleveland.
Making pierogi like a Pole
But how are pierogi made?
My memories of homemade pierogi involve my mom standing over the table for a long while, kneading and rolling dough, cutting it into circles with the top of a glass, filling them up with a mixture of potatoes and cheese, and meticulously pinching them shut to ensure the filling stayed inside. It always seemed like a long and daunting process, especially if you decided to make 200 pierogi.
The result, however, was mouth watering. A delightful doughy pillow with scrumptious filling of cheesy potatoes.
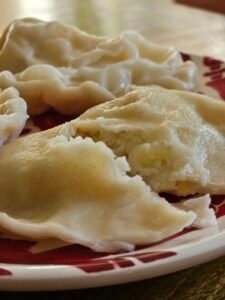
My favorite have always been pierogi ruskie (potato and farmers cheese). Although these are the most popular type of pierogi, they are one of many. Other types include:
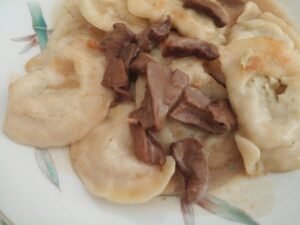
- Sauekraut/cabbage with mushrooms: During Christmas Eve dinner (Wigilia), we traditionally have two types of pierogi–sauerkraut with mushrooms, and cabbage with mushrooms. As you might imagine, the first has a more sour taste than the latter.
- Lentils: A delicious discovery were pierogi with lentil filling, which my Mom would sometimes make. Tasty and healthy-ish!
- Meat: Pierogi with meat are also quite popular. You can make them with any type of meat, but I have generally seen them made out of a mix of ground pork and beef.
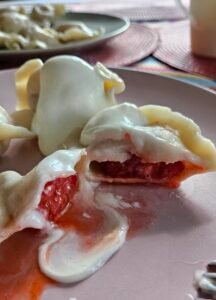
- Fruit: Most memorable for kids, I think, are pierogi with berries–primarily strawberries or blueberries. I have heard more than one Polish adult reminisce about their grandma’s delicious berry pierogi. The pierogi are served with a nice dollop of sweet cream.
The recipe
I’m not going to claim I make great pierogi–I don’t. I haven’t made them often enough to say I do, but each time I make an attempt, I learn something new.
The thing is, the recipe for pierogi is very simple–all you need is a handful of ingredients. It’s the process that gets tricky. You need to get the dough just right to get it to stretch like play dough without being overly tough or breaking, and to do that, you need some (read: a lot) elbow grease.
Filling
- 4-5 medium yellow potatoes
- 500g of farmer’s cheese
- Salt and pepper
Cut potatoes into quarters, add to a pot of water with 1 TBSP salt, boil until potatoes are tender but not overdone (20-25 minutes depending on the size of the potatoes). Mash the potatoes, then cool. Add 500 g of farmer’s cheese and mix. Season with salt and pepper.
Dough
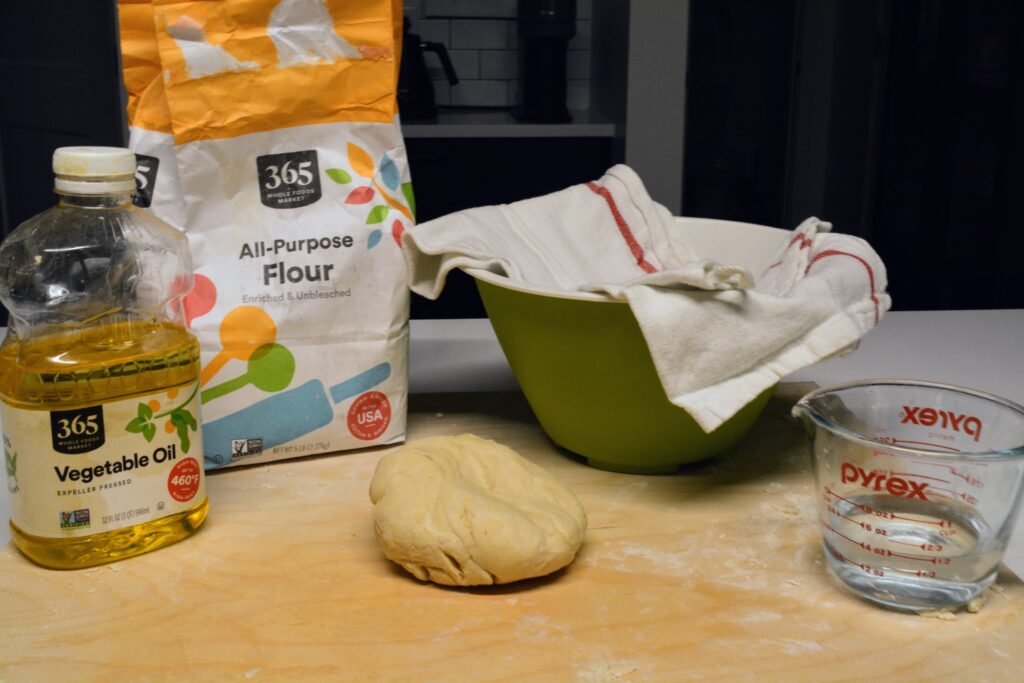
- 4 cups flour
- 3 tablespoons vegetable oil
- 250ml warm water
Pour flour onto kneading board making a little flour hill with a dip n the middle. A flour volcano, if you will. Add oil to the middle part and mix lightly.
Add 250ml of warm water slowly throughout the flour and oil mixture, “cutting it into the flour”. Do this until the dough has a play dough, pliable consistency.
Knead the dough. Use the palm of your hand, rolling it into a ball shape for around 5 minutes.
Cover dough ball with cloth/napkin and let stand for a 15 minutes.
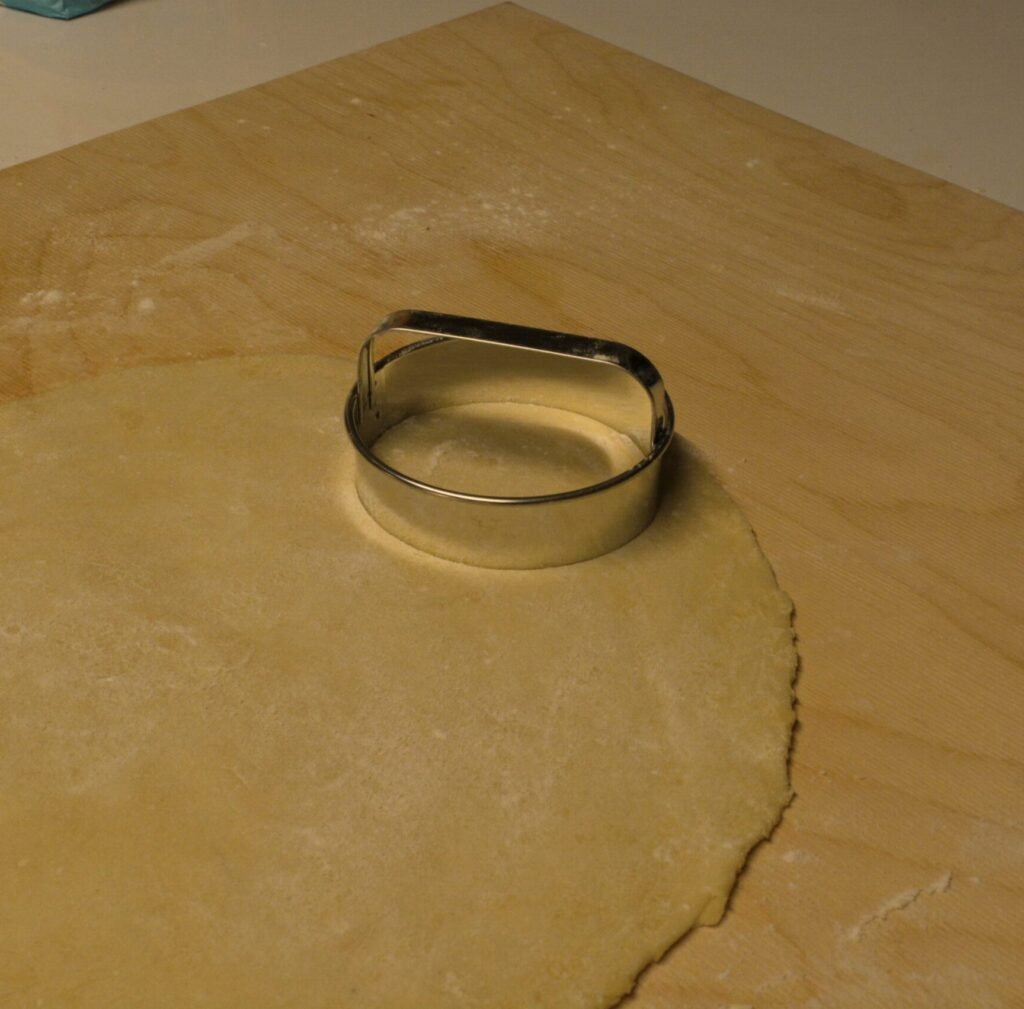
Roll out the dough to 1/8 of an inch (thin!). Use a circle shaped cookie cutter (around 3 inches in diameter) to cut out round shapes. Add filling–enough so it will close without tearing–and use your thumb and pointer finger to close the dough around the filling.
If you’re confused, do not fret! This pierogi-making tutorial by Kuchnia Pysznosci, although it is in Polish, shows the above steps perfectly!
Boil a large pot of water with 1 tablespoon of salt. Add some oil to the water to help ensure the pierogi do not stick to each other when they cook. As the water boils, add about 6 pierogi at a time–make sure to lightly nudge them with a spoon after you put them in the water to, once again, prevent them from sticking to the bottom to to each other.
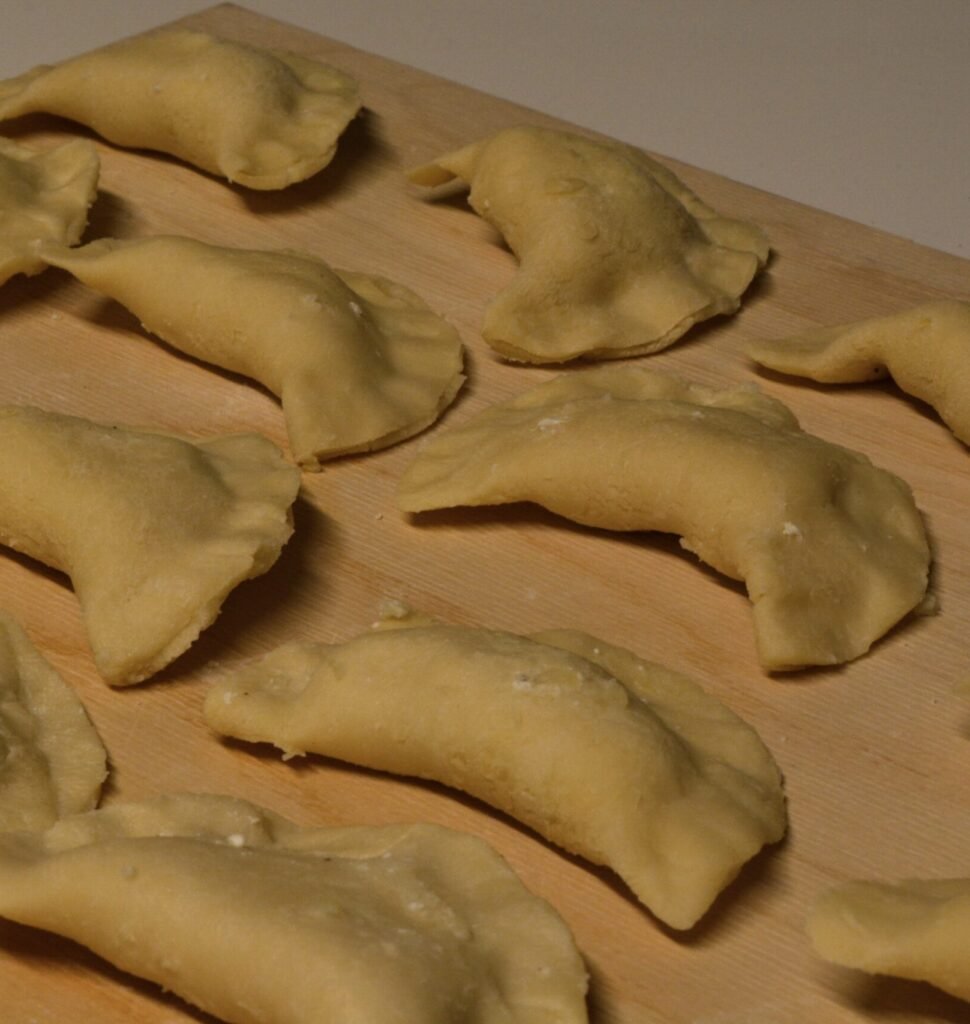
When the pierogi rise to the top, give them about 3 minutes to cook. Then carefully place them into a bowl of cold water to ensure they finish cooking (as you would with hard boiled eggs). Then place onto separate container. Repeat as needed until all of your pierogi are cooked!
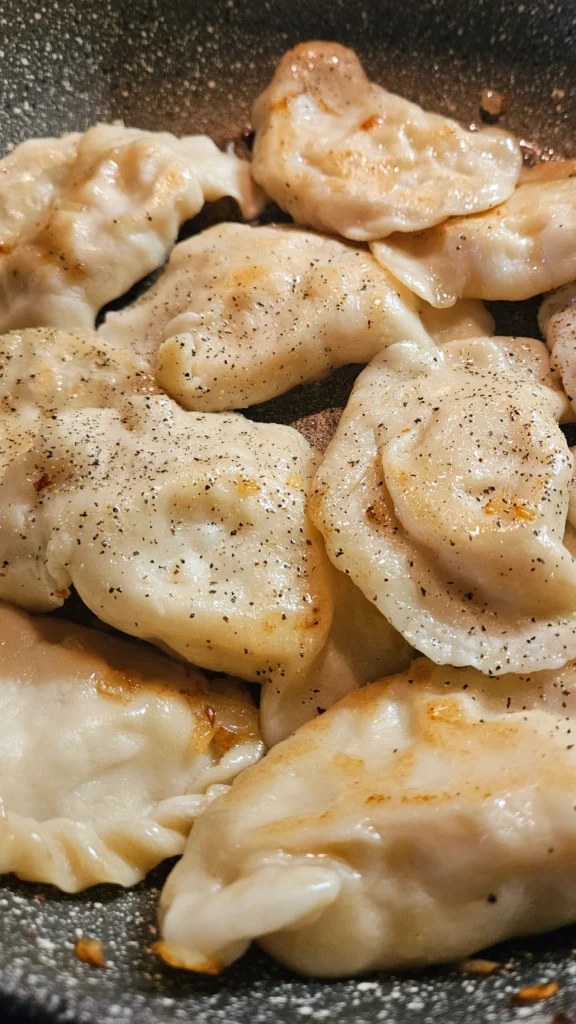
Now, you can eat the pierogi straight out of the pot. However, to make them even more delicious, most people add some butter to a pan and fry those fluffy fellas for a few minutes on each side. (Make sure not to burn them, but a little crispy tastes pretty good!) Some like to eat them with friend onions and sour cream, but we ate them “plain”. They’re delicious enough as is!
Storage: After boiling and before pan frying, you can store the pierogi in an air tight container for about 5 days in the fridge, although this also depends on the filling. If you’d like, you can freeze them so they last several months; just make sure to lay them out flat to freeze and place wax paper between layers. (Again, do these steps before frying!!)
I hope you’ve enjoyed reading about my adventures with pierogi. I’d love to hear about yours! Do you like our Polish dumplings? What’s your favorite filling? Have you made them, and if so, do you have any tricks to getting the dough right? Asking for a friend….


